Classroom Pictures, Currently, Plus Color Posters!

Hello, this time from Canada!

I'm a little tired from a day of golf with the hubby, but I wanted to take advantage of the wi-fi for a quick moment to share some classroom "before" pictures, along with a color poster freebie! So I've moved to a new district this year, and have also changed from second grade over to Kindergarten. I set up my second grade classroom in a very early-childhood-friendly way, so I'm hoping that has prepared me for setting up a Kindergarten classroom for the very first time!


This is a view of my classroom last year from the door. It's from the beginning of the year, so the walls are a little bare--there were a whole lot of anchor charts by the end! But, on the far right, you can see my desk pushed against the wall. The main gathering area is the rug that you see. Students sat in "table groups," as I call them. It's how I dealt with desks! All the way to the left is one of the two kidney tables in the back of the room--a lot of my small group instruction happened at those.


These two pictures show the writing table and my library. I used tables and spare desks (you can see one on the far left in the library picture) to create as many different work spaces as possible. Bins in the library are mostly from Target; materials you see in the writing area are from 3rd Grade Thoughts, Creekside Teacher Tales, and A Cupcake for the Teacher.


Out with the old, in with the new! Here's my new room. This is the cubby area, which is just inside the doors. Not sure what to do with this awesome wall space! The big piece of furniture on the right side of the photo is filled from both sides with paper-sized bins (12 per side). I'm thinking of using these as mailboxes.


You can see the mailbox-like furniture piece on the left this time. A second one exists in the room as well, but doesn't have all the bins. Definitely not sure what to do with that one. Could possibly use it for supplies, but I am very open to other--better--suggestions. What will be my desk is in the middle of this picture, and I do have a nice bulletin board above it. Amazing closet with lots of storage in the corner!


Here's the largest space in the room. Apologies for the blurry image! I have a magnetic chalkboard, two large bulletin boards, and multiple tables at my disposal.


This is the space to the right of the photo above. I have a built-in set of carpeted risers, which I think will function as both a space for non-writing phonics instruction and also a cozy space for reading.


Turning around to the other side of the classroom, here is the door (cubbie area is to the right), along with a sand table, the student bathroom, and what I think will be the easel area on the far left.


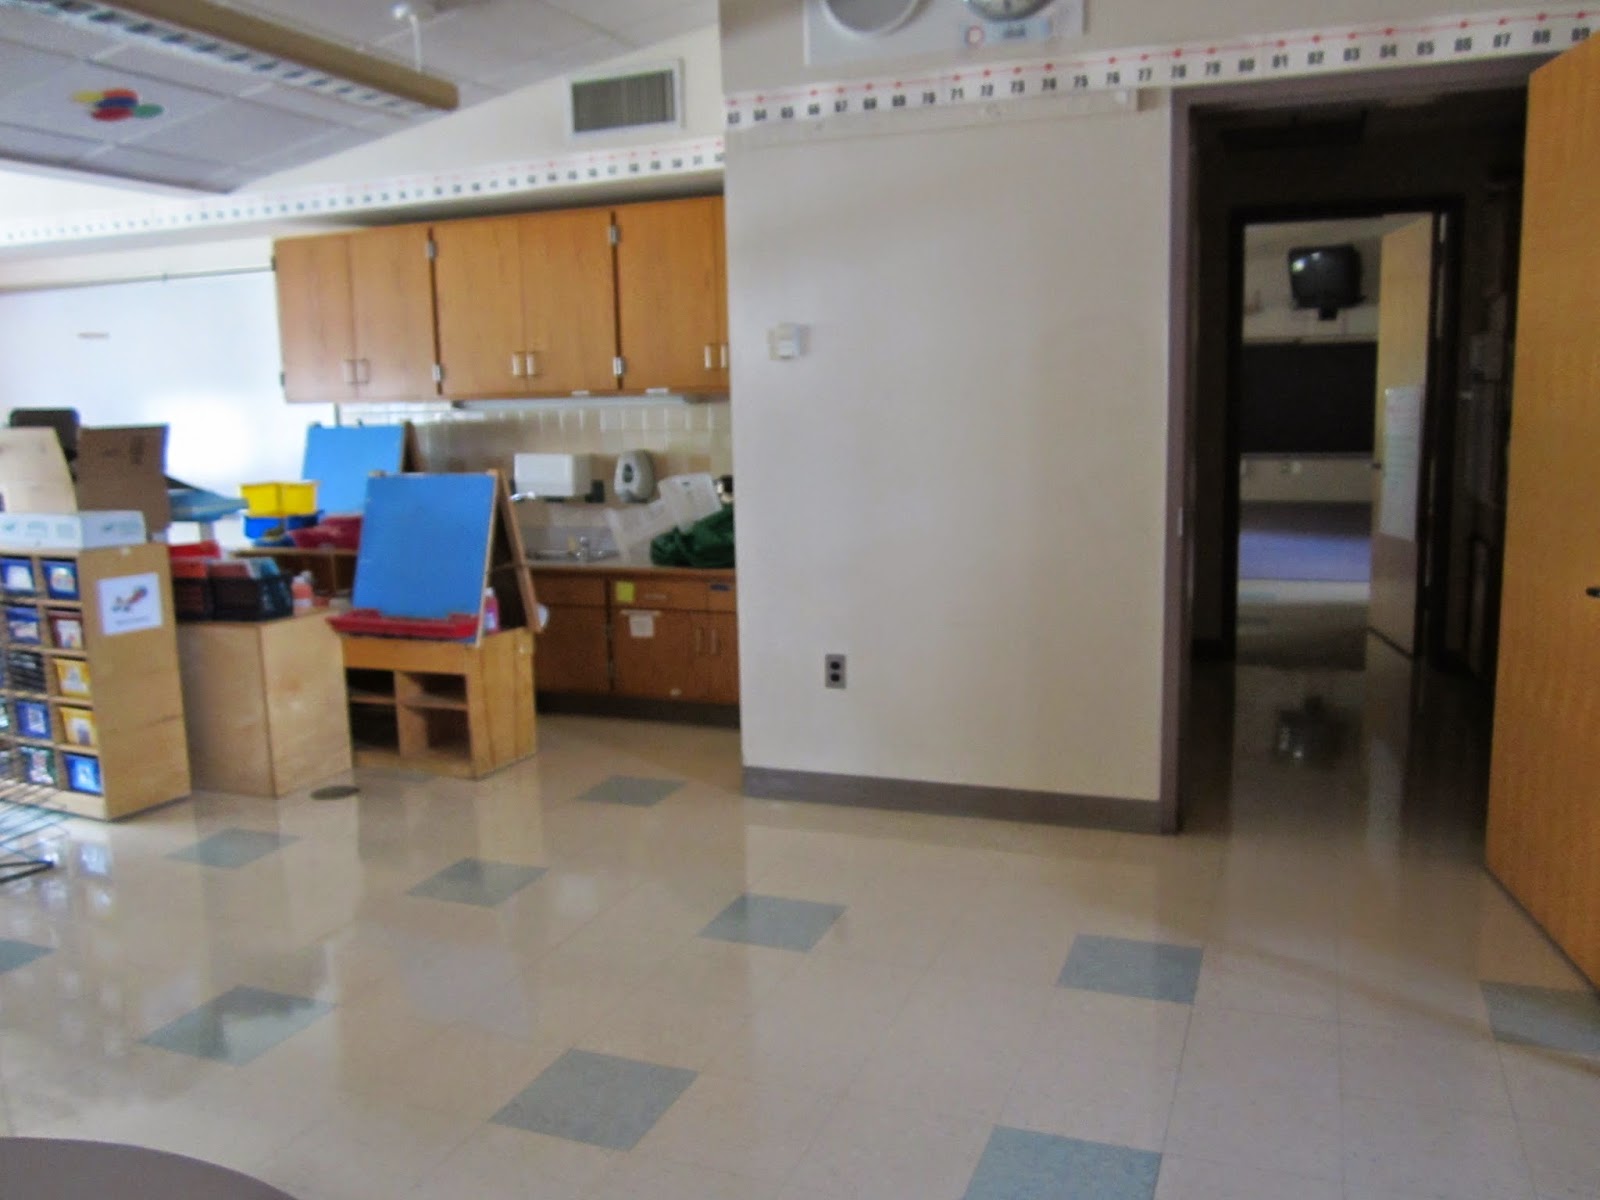
The door on the right links to the kitchenette that connects to another K classroom. When the door is closed, the easel area I mentioned above is just to the right of it. I think the blank wall in the middle will be my writing table, and then my sink and storage are on the left in this photo.


Again, not a great photo! Ugh. These last two photos capture the final classroom areas--the rest of the sink area, where I will likely also set up my block and math manipulative storage shelves. The far corner on the right in the top photo is my library area, and the area in this blurry photo will be a carpeted meeting area. I promise the after photos will be more flattering than these!

Now, for the freebie. On the closet door by my desk were some tired color posters, so one of my tasks on vacation was to create new ones. Though I don't know what their final home will be, I have them here to share with you!

https://drive.google.com/file/d/0B_Y9a4jjuMgnTWRHbEhDNmtCM2M/edit?usp=sharing

https://drive.google.com/file/d/0B_Y9a4jjuMgnTWRHbEhDNmtCM2M/edit?usp=sharing


Enjoy the posters, click any of the above images to download them! And, what do you think of my classroom space this year? Any suggestions on what to do with it? Leave your ideas in the comments!

0


Signature

Making Crayons, and a Freebie

Hello from Maine!

The hubby and I are vacationing for the next couple of weeks. We've been in Maine for the past couple of days, and head up to Prince Edward Island in Canada for the next 10 or so to visit family. Both Maine and PEI are so beautiful and relaxing, which is perfect for the last leg of mental recharging I need for the back-to-school rush when I return! I've also been able to do some pleasure reading, in addition to my piles of school-related reading; book 1 of The Hunger Games was devoured over the past two days, which leaves the second and third books of that series, as well as The Fault in Our Stars for the rest of the trip!

Before departing home, I worked on my welcome gift for my students. Last year I did a bag filled with all kinds of goodies, but this year, I think I'm going to keep the welcome gift simple, and devote those goodies (i.e., pencils, erasers, bookmarks, etc.) to Birthday Bags. While poking around in my room one day, I came across what used to be the bane of my teacher existence: old, broken crayons. But looking at them this time, I instead thought: new crayons!


So I bagged up the old, broken crayons and brought them home. I also found a silicone mold for heart-shaped ice cubes. Here's how they became new again.

First, I peeled off any remaining wrappers. This is much quicker if you start by slicing the paper with a knife. You'll also want to think about what color combinations you would like. My crayon selection included mostly primary colors, so I grouped my crayons into warm and cool colors.

Next, get chopping! My crayons were mostly the larger variety, and I chopped them into pieces about 1/4-1/3" long. I am crazy, so I kept my color ratios roughly equivalent.


The rest is fairly loose in terms of "rules." I read directions that ranged from 150°-250° for oven temperature, but for the brand and size of my crayon mixture, 250° was about right. I piled my crayon bits about equal to the height of my molds, knowing that the resulting crayons would be about 1/2" thick.


I recommend a foil-lined baking sheet for the baking part. The silicone trays are flimsy, and you never know about overflow. Then pop your tray in the oven and wait it out! Mine took about 18 minutes to melt (I usually pulled them out just as the last crayon chunks were finishing melting), but I read shorter times in my research too. I think it just depends on your crayon brand and oven.


Cool on your countertop for about 10 minutes, and then move to the freezer once they're no longer sloshy. Leave until hardened, another 10-15 minutes. I found my crayons came out most easily when the silicone tray was allowed to come back to room temperature after its stint in the freezer.


Now for the fun part! I'm planning on making little baggies with two crayons in them (one warm color, one cool color) to give as my welcome gifts. I'll fold these tags in half across the top of the baggie, staple, and voila! Cute, practical (and free!) gifts. Get your tags by clicking the picture, and enjoy!

https://docs.google.com/file/d/0B8aDv7qHgeObVElVSFJoSUxoalU/edit


0


Signature

Weekly Schedule, Plus Template Freebie!

Switching grade levels is both exciting and a touch overwhelming. I think I'm past the hard part--this spring, I was juggling report cards and the end of the school year, moving my classroom to a new school, buying our condo, and the home stretch of wedding planning! Now I'm down to just classroom setup and planning (and getting to the gym, cleaning and cooking dinner...), which is WAY more manageable.


So, I've spent a couple of days in my room clearing out some leftovers and beginning work on my classroom library (more on that another day!), and I've also gotten a jump on creating my classroom schedule.

https://docs.google.com/presentation/d/1lCeu6qsI4hKEtcgqz2lhlAppODbiRowkGeNPtz5wGM4/edit?usp=sharing

You can click the image to download both pages of the file. My schedule has specialist at three different time slots throughout the week, so it's a little wonky. But, if you'd like to play around with it, at least a lot of the formatting is done for you, and hopefully it'll be a helpful way to look at your week from a bird's-eye view.

I used Daily 5 (<3) for my literacy block in second grade last year, so I plan to make it work in Kindergarten too! So each of those Daily 5 rotations will begin with a QUICK (hoping for 5-8 minutes) mini-lesson, followed by work time. I also like to have a truly dedicated writing time, even though writing is a choice in Daily 5, so the last rotation will always be a writing mini-lesson with an accompanying writing task (which students will at least begin, and possibly finish during a later Daily 5 writing choice).

I also adored Math Rotations, which I modeled after Stephanie's description at 3rd Grade Thoughts. I plan to continue with a similar model in Kindergarten, as I can't imagine differentiating effectively without this model!

After my looong morning, I'll have a much shorter afternoon. We'll usually have lunch, recess, and specialist all after noon. I'm planning to include Science/Social Studies/Open Circle in the afternoon, as well as Daily Dish, a fantastic idea that I'm planning on modifying thanks to Cara Carroll over at The First Grade Parade.

Of course, we'll have a good chunk of Choice time and Friday fun to end our week since we have no specialist that day. We'll end our day with Stack & Pack and a quick share (hopefully from the Daily Dish!).

How is your summer planning coming along? How do you manage your classroom schedule? Share your tips and tricks in the comments!


0


Signature

Welcome, and Bear With Me!

Follow my blog with Bloglovin Hello!

I'm very excited to be dipping my toe into the figurative blogging waters. I have been inspired by so many amazing teachers out there whose blogs get me through the school year and keep my own ideas fresh, as well as by their amazing products. I'm just hoping I can contribute some of my own unique ideas to the teacher-verse and make your lives a little easier and more exciting.

I hope you'll follow along on my journey! I'm sure things will get a little mixed up and messy as I navigate blogging and teaching Kindergarten for the first time, but perhaps some of you have experienced much of the same. For me, the most important thing is keeping the students at the center of what I do, and always looking for ways to make school more fun, more engaging, and more exciting! And secretly, more rigorous. :)

I'm hoping to kick things off with some useful back-to-school freebies, so keep an eye out for those!


2


Signature
Back to Top